Wednesday, September 5, 2012

Projects for the week

Lately, I've been wanting to keep myself occupied so I don't feel so lonely during the week. This is a "K" for Keira's room I did. I used scrap book paper for the front and cut the birds from scrap book paper also. I used glitter all over the place wherever I could too. 

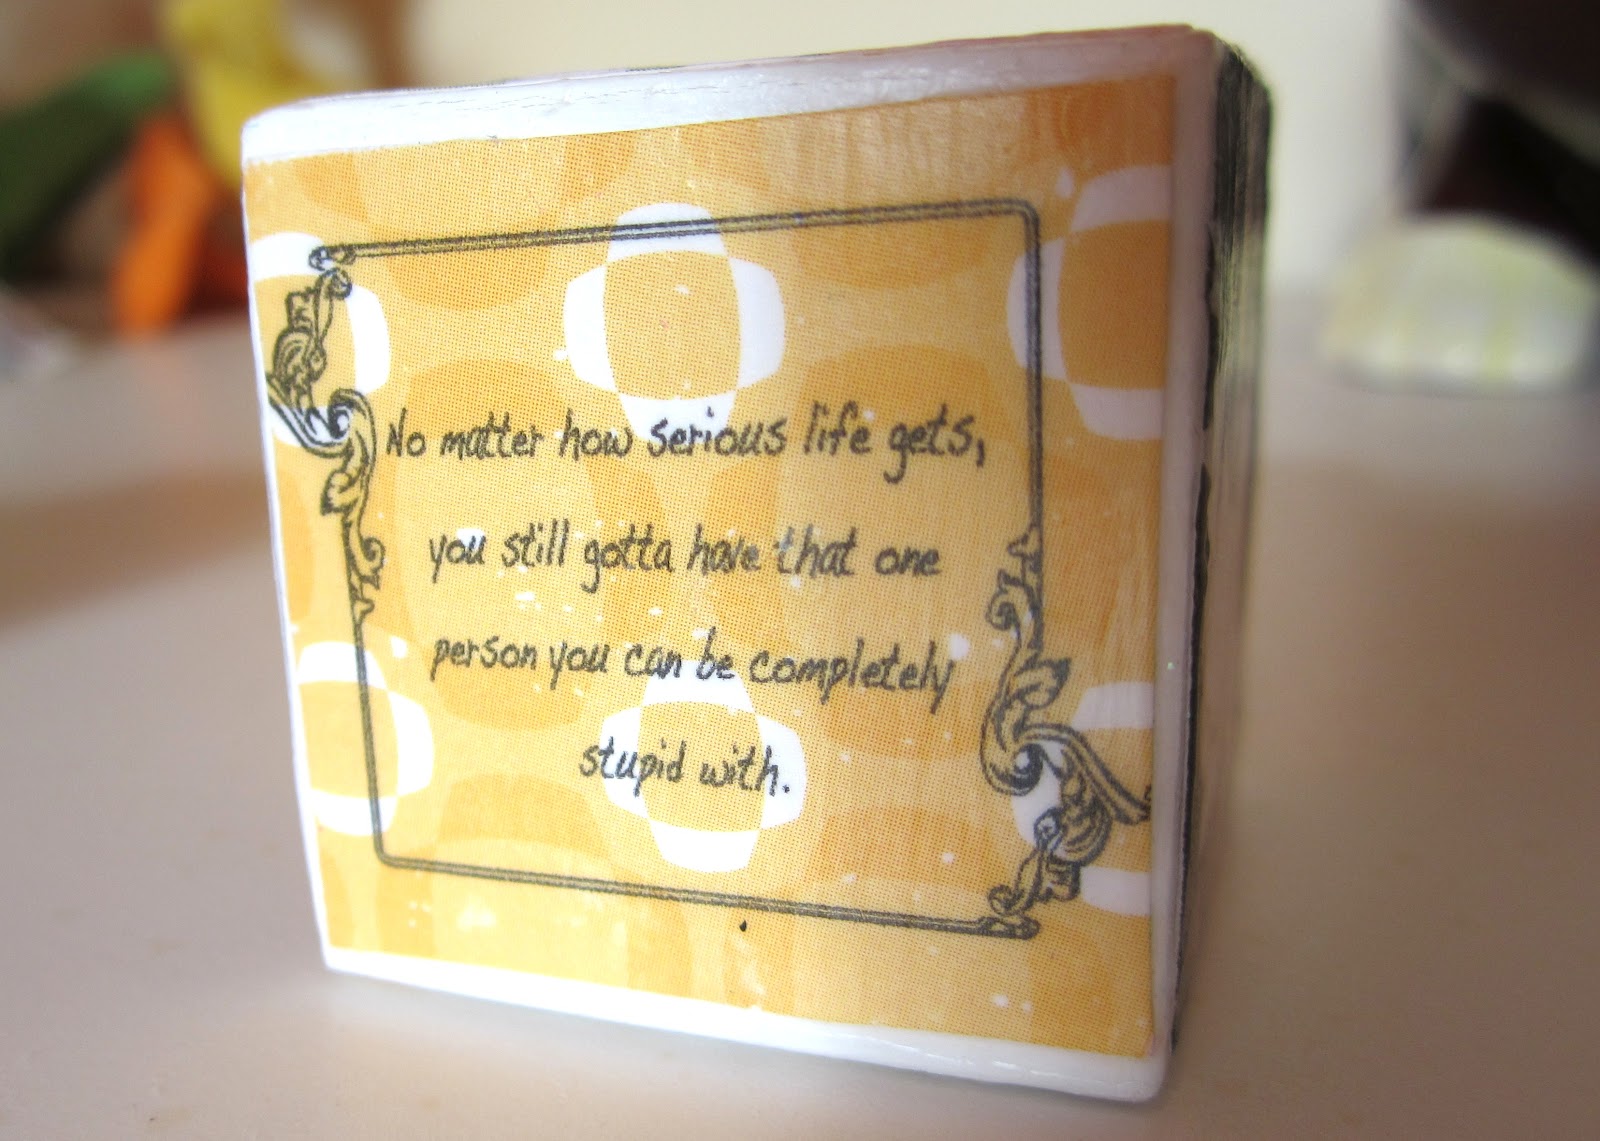
This block is a 1.5" block that I used scrap book paper, pictures and modge podge all over. :) it turned out really cute! 


I made blocks for each of my girls the same size as the sister block. each has a foot picture, the princess quote, a side that is just their name, weight, time of birth, date of birth and in between the name and date I have their actual footprints that I shrunk down really small. I'd post it, but I don't want that information shared. 


These were a really fun project and I did all the print work on microsoft works. :) 


Friday, August 3, 2012

headbands


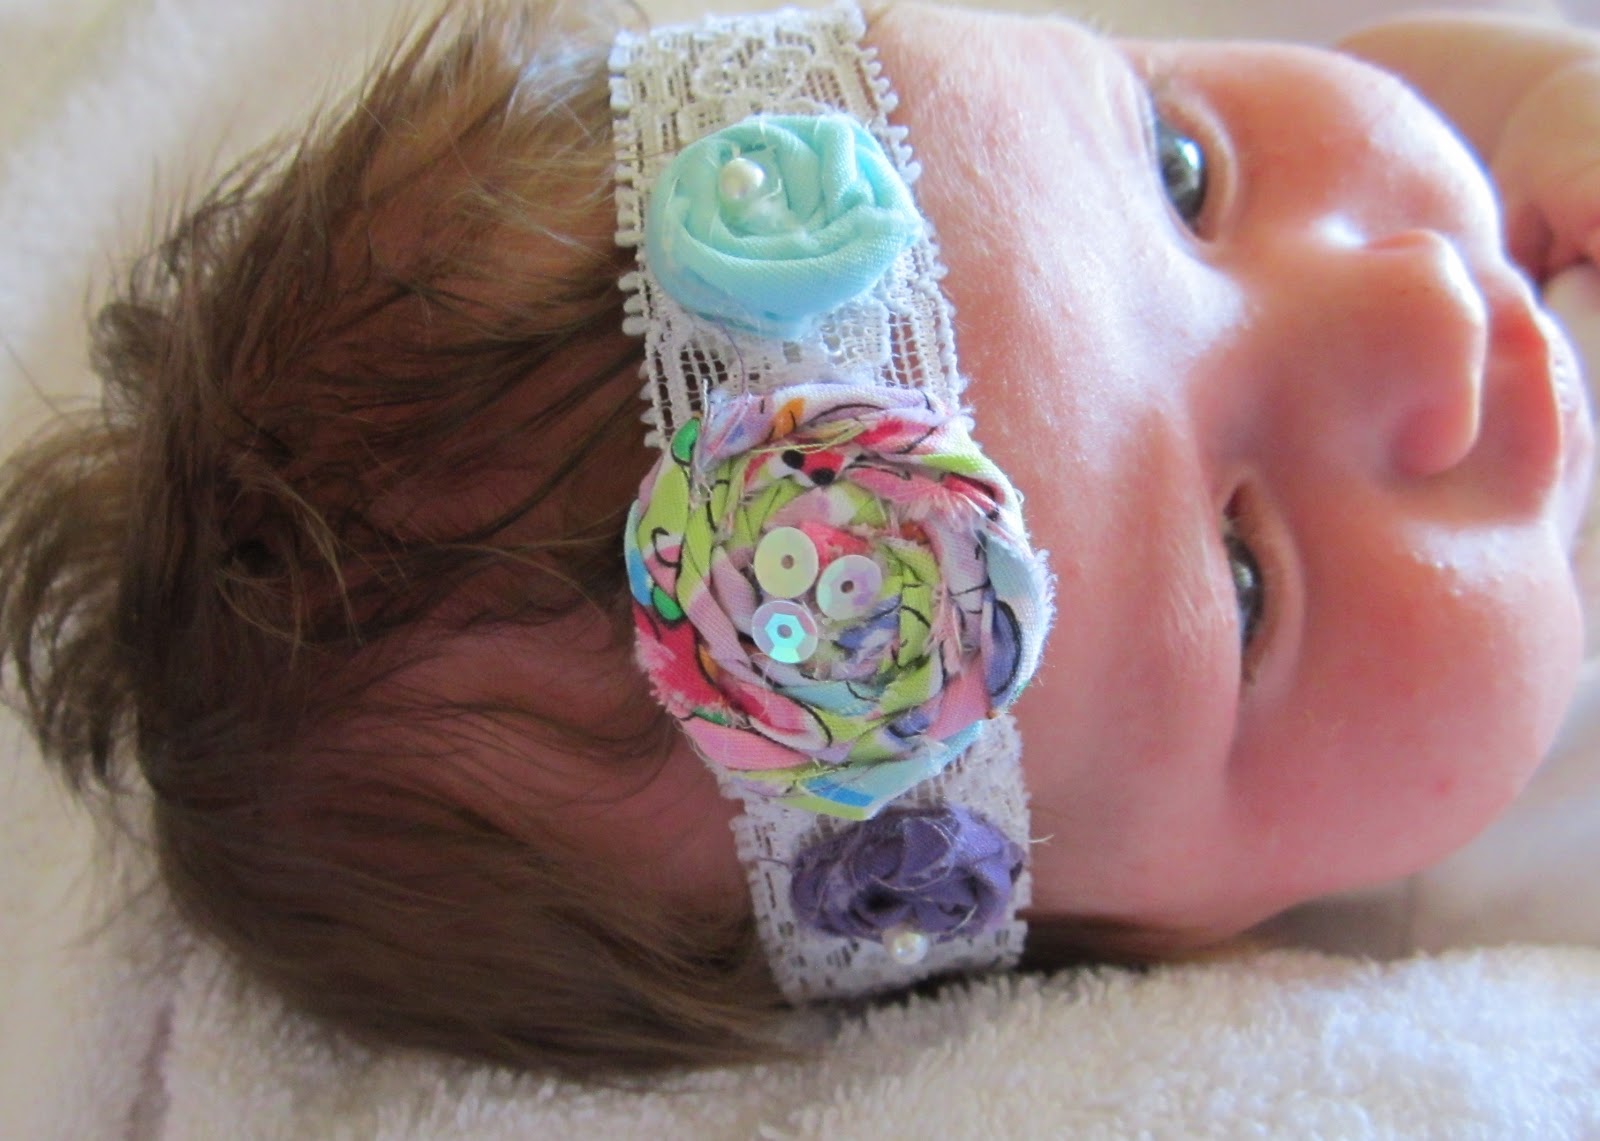
I wanted my new baby girl to have a little headband that she could wear on a daily basis, that would look adorable, and be affordable.  In my case, free!

http://natsprat.blogspot.com/2011/03/rolled-fabric-rosette-headband-tutorial.html


http://www.make-it-do.com/make-it/peony-clips/

it's just fun to play around with and learn new ways.


I found elastic for headbands like shown in the very top picture at Bernina fabric store. I have not come across any yet at joann's or walmart yet. it was only .45 a yard so I go a little for tying.  the other elastics are some i've just collected over the years.

measure the childs head and subtract an inch. sew together with sewing machine and place your flowers over the seam with the glue gun. after flowers are glued on, hot glue felt to the back of your headband and trim so you can't see it when worn. easy!!!

Thursday, August 2, 2012

ANOTHER Diaper Bag

The story behind my 2nd diaper bag with this fabric and style:
         SIGH. On my last road trip, I threw the kids in the car in a hurry and placed my diaper bag on top of the sunscreen on the floor of the backseat. Without me knowing about it the bag got sprayed with the entire bottle. When I got to where we were visiting, I decided I would wash it like I have in the past.  This time I was using a front loader washer. These washers don't have the same capability to spin things like this dry like a top loader does, and because of the washer, the bag looked like it had been run over by a semi truck and drug 10 miles after one wash.
          I decided I'd try to dye the outside black again and make the black look better.  I knew the dye would bleed so I sprayed the inside fabric with scotchgard. It did nothing, so don't waste your money. After spray bottle spraying the outside bag with dye and washing it, the outside looked the same and inside looked destroyed and purple.
           After bawling at the loss of my hard work, time, and the fact that I really did like my last bag, my husband said "make a new one" knowing it would cost more money, but I would feel better.  (Oh, how I love that man!!!)
            I tracked down the fabric again online, had it shipped and by the time I got home from my trip I was ready to sew!
            This time, I wanted to add a few inches length to the bag because there was never room for my older daughter's toys and books in the bag when we went to church, and honestly it felt small to me even though it was the biggest bag I've had yet.  I thought adding 4" to the length of the bag wouldn't be too big of a change, so I altered the pattern and added 4 inches to the length, not thinking about how it would change the whole look.  This picture above looks good.  the proportion of fabrics looks fine and it doesn't seem too weird.  well, by the time I got the binding on top bith the seam allowance, it looks .....weird. long and way too skinny.  I should have made it a little wider and shorted the outside pockets a little.
            I had a whole night of bawling AGAIN over this diaper bag dilema and couldn't get past how silly it looked to me, not to mention I ran out of fabric for the outside and ended up using pink for the lower half pockets not realizing that it would turn into the bottom of the bag later. My brain was overloaded at the time with "motherhood." (If I sound like an absolute wreck and emotional disaster, you are right... I was. Having a baby messes you up for a long time. .... Still not back to my old self.)
            I skyped my sister and showed her the bag, sent pictures to my husband on the phone, posted pictures on facebook and finally figured out how to make it better. Having a pink bottom made the odd shave more obvious and it would get dirty so fast, so I took a regluar cotton piece of black fabric (It was all I had, and I don't live down the street from a fabric store.) and I ironed fusible fleece to it. Then I pressed under all the edges and hand sewed it on to cover up the pink.  It will do and it makes the bag less awkward to me.

(i've been having trouble with blogger and now have lost the before picture. I also deleted it off my computer)


 I love the inside of this bag now! I have 2 more pockets than the last bag.  I did the inside completely different than last time too.  I did each side of the bag separate, then pieced it together rather than doing it like I did the outside of the bag. it worked out great!


I even added a place to keep my keys, because lately, I try to get the kids out of the car, and by the time i'm ready to go into a store I can't remember where the keys are or if I locket it or not. THEN, I can't find them later when I need them. adding another kid in the mix messes with my memory and focus ability big time.


Pocket inside pocket on the outside of the bag. I keep all my chap stick and pens etc there. 


pocket on the outside
 while making the bag, I ran out of black fabric, so I used pink thinking it would look ok. first mistake is that it will get dirty fast.  it also makes the size very evident and makes it look more short. it just plain looks weird to me. so under estimating the amount of fabric is a mistake. always get more! I don't live down the street from a fabric store either. 

                                                    I love the way the top turned out.
fully stuffed!


Thursday, July 5, 2012

Carseat Canopy


        There is something wrong with me. seriously. I wanted to get this sewn before I had Carli, so I started and finished this Thursday and I had her Friday. I'm nuts!

       The zebra print is a bit much, but it was cheap at walmart and I only a little left of the animal print after doing the carseat recovering and diaper bag. I had black fabric that was pretty much free that I purchased from a garage sale last summer. I used that for the inside.


I purchased this AWESOME pattern from:

It is worth every penny! I'll tell you why!


 The canopy is extra long in the front and back and sides. The last one I had barely covered her feet in the front and it was always flying up in the wind. 
The back also has this awesome bustle that you can snap up and let the baby get some air without exposing her to sun and stuff. I'm still overwhelmed by zebra print. I really wish I would have gone with something not so loud.

The front has a zipper that you can open to see her, or give her some air and still block the sun while still allowing you to use the handle to cary her. I love the girly ruffle detail or you can do a less girly piping detail.
Inside there are 2 convenient toy loops that I always wished others had. They are placed right below the straps used to attatch the cover to the carseat.

            All these combined make for a very user friendly and cute canopy that baby can sleep comfortably under.


           While making this, I was so rushed that I didn't take my time to read instructions carefully and am used to patterns with a ton of step by step pictures. This pattern is a lot more like the patterns you purchase in the store. If I would have slowed down I would not have gotten frustrated during the zipper/front and back assembly process. AND I should know better than to cut the zipper short before the thing is done. SO DUMB!!!! that lead to a lot of safety pinning and taping to make sure it stayed the way it was supposed to before completion. I ended up adding a lot more time than needed and using my seam ripper way more than I like to just because I hurried. ANYWAY, it turned out fine and works! again, not perfect, but nothing of mine ever is. :)


Baby #2- Carli

     I have to say, this is my favorite picture!! I was so full of joy and holding back the tears! What a memorable moment for me!! With my first birth, my daughter had to be taken to a different room right away and my husband left to be with her. This time it was not rushed, I wasn't strapped down and could hold her, I got to see her be cleaned up and monitored and weighed right next to me. My husband got to hold my hand and be there with me the whole time!!!

    Carli weighed 8lbs 11oz and was 20 1/2" long. I still can't believe such a huge baby fit inside me! No wonder I was so miserable and could barely walk!
She has chubby cheeks and since she has been home, has thinned out everywhere but her face! I love it! She looks a lot like her big sister did only different in her own way too. I make beautiful girls!!! I couldn't be more proud!
wearing the outfits I made for them in the hospital!
going home in the carseat I made!

The first of our professional pictures! more to come!

Happy 4th of July!!!


Wednesday, June 20, 2012

Tutu dresses for pictures


My friend, Kate made the tops of the dresses for me and I tied tulle to them. Turned out pretty cute!
She makes crochet patterns and sells them here: http://www.craftsy.com/user/pattern/store/17685

She does awesome work!
I'm making these to have the girls wear for our family pictures in a week.

The one on the right is for our newborn.
I might change the position of the bow on this one. I couldn't decide and it's hard for me to place it without a baby in it.
Keira dances around like a ballerina princess in it! :) I can't keep it off her.


I made diaper covers for both dresses
and the end result is plenty of summersaults!


Friday, June 15, 2012

Sisters outfit

What am I still doing awake?! I should totally be sleeping because it's 1:30 a.m.
It's the only time I get to have to myself lately, although i'm usually so beat tired I can't keep my eyes open. Where is this energy coming from? I am a week away from my due date and feeling like I have things left to do that somehow have been forgotten about. I FINALLY packed a hospital bag yesterday.

            I bought fabric at Joann's pretty cheap with my coupons the other day and wanted to make some sister outfits to POSSIBLY wear at the hospital. we'll see. I was hoping to give me a project that would take up some time and make me forget about the week ahead. I can't just leave stuff for later so I started the skirts this morning and finished it all tonight. All day I was out and about so I'm pretty amazed!

            The applique on the shirts didn't turn out as good as I hoped for. ESPECIALLY the onesie! that was horrible because it was so small. don't look too close because you will think it looks as bad as I do. I just don't have the right stitches on my machine for these and it would have been a perfect project for an embroidery machine. SOMEDAY!

I might make a diaper cover for my 2 year old to go under the skirt. we'll see how I feel tomorrow. :)

           oh, for the letters, I just went into microsoft works and picked a font and printed it the size that would work well. it was at size 74 and then I printed it at different sizes like 180% or something. you just have to play around with it. Then, I held it up to a window backwords and traced it onto the paper side of the heat and bond sheet. after that, I cut each letter out rough and ironed it on to different fabrics then cut the letters out. worked great!

Thursday, May 24, 2012

more nesting


I keep thinking about the last time I used the bassinet and how much I was frustrated that everything I needed was in different places. Her lotion was in her room, diapers and wipes were in a jjcole box thing on the floor, burp rags were in her room and the changing pad was useless. Because we don't have a nursery set up for her yet (basement still being built) I wanted everything to be accessable when I needed it.

I saw this on etsy for sale and had a light bulb go off! http://www.etsy.com/listing/93623395/giraffe-stripe-and-dot-custom-diaper   Keep in mind that hers is way stinking cute and the fabrics are adorable. I was trying to make this without spending a penny. I used scraps of fabric I had left over. I didn't even have any more fusible fleece, so I used blanket batting and some of those plastic children's placemats. I cut the placemats to the dimensions I wanted and sewed all around them so they couldn't slip around. It adds some stability that otherwise would have been there if I used the right materials in the first place. I lot more work than was needed, but that's just how I roll these days.


so mine doesn't look the prettiest, but it's functional like I wanted.


I even made a new sheet for her to match. If you can't tell in the picture, there is yellow and green in the fabrics used. If I was feeling really ambitious and wanted to spend the money, I would have recovered the whole bassinet too, but I didn't. I am really tired these days, grouchy, and want her out NOW!


to secure it to the side of the bed it's self, I used some clip things that were already being used for something useless on the bassinet. This helped so I didn't have to make button holes in the bedding to fit. Also, if I decide to keep the bassinet in a different spot than I planned, it's a piece of cake to move it to the other side or something.


I also made some newborn size bibs today. I want to be done sewing so badly but have one more thing I might do. Other than that... I need a break. sigh.
For the bibs, I just traced a bib I already had, added 1/4" seam allowance around it and used that for a pattern.