Monday, March 19, 2012

Indoor garage sale

      I am cleaning out the basement so my husband can build a family room! We hope that will help our house to sell better! I am trying to collect money also so we can put it toward a double stroller that we will need soon or just diapers or building materials. :)

      I will take paypal for a payment if needed and I will ship items to you if needed as long as the buyer pays shipping.  The items can get to Elko, NV or on the way there or Logan, UT if needed. Please contact me if you want to purchase anything: sewinsanity@gmail.com

First up: Jeep changing pad- barely used  (small scratches on clip)   $5.00
the pad part can be removed completely and just use the pockets to keep diapers and wipes in.


Seccond up: gold lamps- Never used (shades still in packaging) One had a lighbulb break off while still in it. My mother in law gave them to us when we got married lightbulbs in them and they have been stored ever since.   $20.00


Third: Deni icecream maker- used once  Has been stored ever since.  No instruction manual with it but i'm sure it can be looked up online. Hot pink cover. $10.00 OBO

New icecream makers sell for $69.99 here: http://www.deni.com/index.cfm?fuseaction=page.product&category_ID=13

recipes found here: http://www.deni.com/index.cfm?fuseaction=page.recipe


Fourth: pink Little miss fun shorts size girls 7/8  $2.00 OBO dusty from basement SOLD


Fifth Item up: red halter top - girls 5T  (dusty from basement- great condition other than that)
$2.00 OBO SOLD


Six: Mary Kate and Ashley Jeans size Girls 6- like new condition $2.00 OBO SOLD


Seven: Partylight frosted crystal votive holders (have been in original boxes and stored for years) I used these for about a year on occasion and while moving one broke. Expensive back in the day. dusty from basement
  $10.00 OBO SOLD


Eight: Brother sewing machine.  Very Basic and kept it as a backup to my own.  I'd rather get rid of it at this point that store it. comes with regular foot. $30.00 OBO SOLD


Nine: TRIKE would rather sell than store it. the part from radio flyer needed to fix is $4.00 plus shipping.  $5.00 or FREE

This trike was picked up at a garage sale with the intention of fixing it. one wheel is bent like it got run over. the only part bent is the circle the rubber tire fits on. I am sure a replacememt part can be ordered or even taken a hammer to it. I have the rubber tire that goes on it. I just want it out of my garage. I am sorry that this is not a very good picture, it's way up high in the garage and I can't get to it myself. the front wheel is turned around so it looks funny too.  SOLD


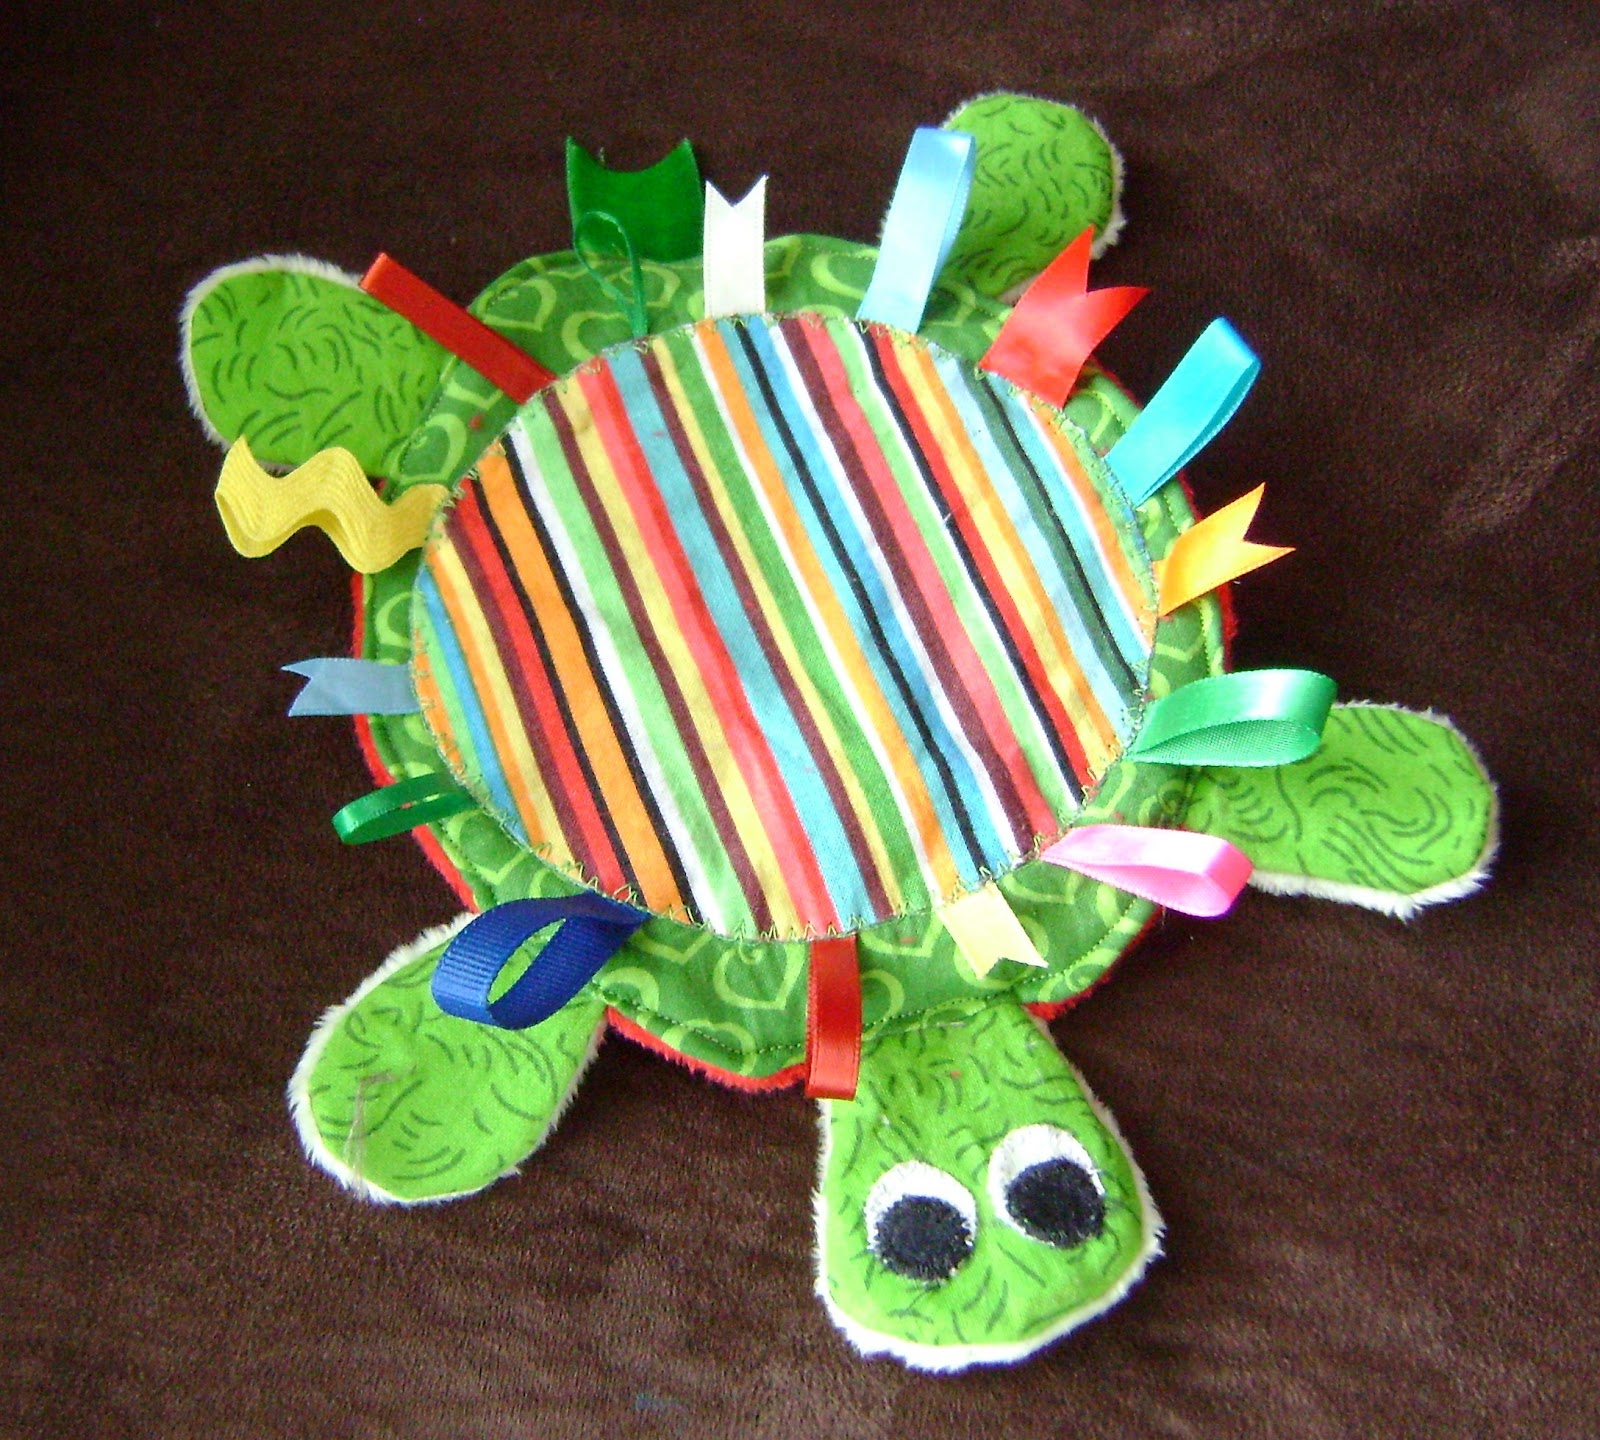
TEN:  Diaper bag I have sewn on this blog for my last baby towards the end of needing one. BARELY USED.  I decided to go with a different style (also shown on my blog).  This bag had a lot of time and materials put into it. High quality and attention to detail.
MORE PICTURES SHOWN HERE:
http://www.sewinsanity.blogspot.com/p/my-sewing-projects.html
$35.00 OBO

ELEVEN: 2006 YZ450F $2800.00 SOLD
New piston and rings. Stage 2 hot cams. Extra rim and tire for sand. call or text Pete 435-770-5963


Friday, March 2, 2012

Crinkle Turtle


                I saw a tutle like this for sale but didn't feel the need to spend the money on it. So, as usual, I made it myself. :) I just drew out a tutrle on paper and started working away cutting fabric to work.

If you want to buy one this is where I saw it for sale: http://www.etsy.com/listing/69190537/yertle-the-turtle-green-or-pink-crinkle

I used a plastic bag for under the shell and in the feet and head I used an old wipe bag (the kind people use for refills).  I added skinny batting to the head and body and left the feet alone.  I appliqued on the shell: first added head and bond to the shell fabric, peeled off the paper backing and started pinning in place with ribbon under the edges. I zig zaged it down then ironed the shell to make it stick down good. :)

I guess I should have taken pictures of it as I went along, but I didn't.  Anyway, this project is very simple and fun! It turned out cute! :) On the tummy of the turtle I used red minky.

Thursday, March 1, 2012

Baby Blocks


I made these with my scraps of fabric tonight really quickly. 
One block is made from 4" squares and the other is made from 5" squares.  I added ribbon tags everywhere I could and used flannel, cotton, minky and chenille to add different textures.


THE BEST Burp Rags and Bibs


        As I mentioned in an earlier post, my daughter Keira was born with acid reflux. If you've never seen a child with it, it's gross.  She threw up all day every day until she was 1 1/2. It was projectile vomit and often times covered the person holding her, the floor and any nearby furniture. She would go through multiple outfits a day because she would stink so bad and had 2 baths a day. She was on medication but it didn't help with the throwing up part, just the buring part. She is such a sweet girl though, I couldn't help but love her even though she was gross. :)
       
     With that in mind, preparing for my next daughter I wanted to have a lot of good burp rags on hand. My other burp rags are rough now and faded and honestly didn't do a whole lot for cleaning up puke.   She would go through a whole stack in a day. I read online different types of tutorials and honestly wasn't impressed.  Most would say things like you need to buy a package of Gerber cloth diapers but don't buy them from walmart because they come from China. You need to buy them from Target.  We don't have a target and the cloth diapers alone cost $13.00 for 8 of them.  I looked at the Walmart kind and they are more cheesecloth than diapers. so I had another idea!!!!
      
       At Joanns WITHOUT a coupon you can buy chenille for $14.00 a yard.  With a yard of fabric you can make a good dozen burp rags. I used scrap fabric or bought end of bolt deals or I found cute fabric and bought 11 inches of it.  (that usually came out to be about $1.45 per fabric. with 11 inches you can make 2 burp rags)  NOTE: pre wash your chenille and fabric and dry it before using it!!! I prewash everything I use besides minkee and it blows my mind when people don't because you end up with a messed up product in the end if you don't. 

   
The dimensions of rectangles you need of chenille and cotton or flannel are:
9 1/2" wide and 17" long
  • I use a rotary cutter and mat to make sure my pieces are square.  Also, I often times find the measurements and tear the fabric (don't tear chenille- it won't be straight)  because it stays with the right dimensions.
  • once my rectangles are cut, place them right sides together and pin. 
  • Sew around them at a 1/4" leaving about a 2 1/2" opening and clip corners
  • Turn right sides out through the opening
  • use the tip of a pencil or your scisors to carefully make sure the corners are poked out.
  • now top stitch a little less than 1/4" around the burp rag  making sure the opening is tucked in to be flush with the rest of the burp rag.
  • YOU'RE DONE!
I could make these all day. they are fast and easy and turn out so nice and will be AMAZING to use. And oh so absorbant and soft for baby to lay her head on! :)


BIBS:


For the bibs I used a bib I liked when Keira was using them and traced around it adding 1/4" for seam allowance. 

  • cut one out of fabric (cotton or flannel)
  • one out of chenille or minkee. 
  • Place right sides together and pin
  • Sew around the entire bib leaving an opening in the bottom for turning
  • Clip corners, neckline and curved edges
  • turn inside out
  • topstitch at a little less than 1/4" (again to avoid having to hand sew-you may want to anyway)
  • attatch velcro
  • YOU'RE DONE!
Easy and cute!  I used these all the time and I would have made more but I ran out of chenille and minkee.  :)


Tuesday, February 28, 2012

Nursing Pads


I saw this fabric and thought it would make cute nursing pads! :)

I used 4 layers of flannel and zig zagged around the edge.  I hope they work well! I won't know for a few more months. I ran out of white thread on the last one... oops.

I traced 4" circles with crayon and cut each one out carefully. I used our cheerios treat holder for diaper bags that I had. (the kind you find in the grocery store for cheap)


Recovering my carseat


         When I went into the basement to check out the baby stuff after I found out I was having another girl, the carseat made me cringe. The underside of the lining was all beat up and melted and the top just was not cute. A long LONG time ago I bought the tutorial pattern from this etsy shop: http://www.etsy.com/shop/GeorgiaLeighDesigns?ref=seller_info with the intention to redo it when keira was using it.  I was terrified to try so I decided to do it now. My husband didn't even understand my fear of doing this and he could care less about this kind of thing. I am not a pro at sewing and i'm not AMAZING as everyone keeps saying.  The only thing that makes me impressive to others is the fact that I try stuff and with each try I get better and better. All they see is the end product. I guess I'm just super determined or something!

    All I got from the tutorial I purchased was basically take a seam ripper to it, take pictures of it as you go so you know how it goes back together and trace the pieces you took apart to make new pieces. if I would have known that, I would not have bought the pattern.  THEN I found this FREE tutorial online: http://www.makeit-loveit.com/2011/02/recovering-baby-car-seat.html  SIGH.

      My seat is a very simple, basic one that isn't very tailored or forgiving if it isn't PERFECT like the one it came with. I was afraid of that.  I wanted a seperate part up the middle, shown in black minke, so I cut it and added 1/4" to the cut edges of the new pieces to make it fit.
     This new one is not a very snug fit which I'm disapointed with, but it's still better than the last one.  I might figure out some sort of velcro to attatch it to the seat better. The back is not pretty and I probably should have used just plain black cotton to line it with because I had to replace the batting.  You don't want to leave batting exposed.  Instead I used pink fuzzy material I already had on hand.  it made it more poofy and bulky.  also, at the top of the seat lining are pleats that I didn't made big enough and I tried to fix after the binding was already on.  As long as you don't look underneath, it's an ok seat cover! :)


THE CANOPY

       The canopy was more intimidating to do than It should have been.  It was the most fun to do! most come from the store without an under side, so I did one for this. 


my favorite part is the ruffles I did!!! :) I can't wait to put my baby in it! now to make strap covers and a head rest.


Sewing more for the diaper Bag


This is a changing pad I made, a wet bag I bought and a pouch I improved.

    I have a few different changing pads that I've used in the past but have not liked any of them. They all were plastic and when you'd put a new baby on them it was cold and they screamed! Plus, if they wet which they often do, the pee runs off the changing pad onto your bed or the floor and soaks them in the process. kinda pointless in my opinion.  I found this pattern online: http://www.etsy.com/listing/91296386/pdf-ebook-baby-changing-mat-little-buns   but decided to use this free pattern instead: http://cookieandclaire.blogspot.com/2011/02/diaper-changing-pad-tutorial.html 

          My changing pad turned out pretty nice, except it's ultra thick. I added a layer of all cotton batting that was super thin thinking it wouldn't really make a difference and I swear someone used it in their changing pads they sell online.  Now when I roll it up in the bag it takes up a lot of room.  oh well! it's cute and comfy! :)

          The wet bag I bought online and am so glad I did. With my first daughter I had no such thing and I remember the blowouts and the smelly clothes that she constantly threw up on. The acid reflux problem was gross!!! Anyway, the clothes just ended up getting thrown in my bag getting everything stinky.  This wet bag was bought here: http://www.etsy.com/shop/JodysDesigns?ref=seller_info   She's awesome to work with and even sold me her left over fabric to make the chaning pad with. Why didn't I sew one myself you ask? well, I've never worked with waterproof material like is used in this bag and I'd have to buy a lot of the material to make one little bag. in my mind at the time, it wasn't worth it.

         The pouch was also purchased from:   http://www.etsy.com/shop/PillowSewCute    again, at the time it made sense to buy this bag because I didn't want to buy a whole bunch of fabric to make it. However when I recieved it I was totally disappointed! There was no interfacing used, nothing to sturdy the bag at all. The plastic is really thick and it was just an awkward bag.  I ended up taking it apart, adding interfacing and adding binding along the top of the plastic. I felt like I made a stupid choice in purchasing this bag and could have done a way better job myself. again, oh well. Lesson learned.


       I also bought cute yellow flannel and white flannel to make a blanket for our new girl. All of the blankets used on my first daughter are old and not soft anymore.  Because of her acid reflux, we washed blankets A LOT! I now need to make a bunch more, or just buy some cheap ones from walmart! :)


Thursday, February 16, 2012

Diaper Bag for Our new little girl


     This pattern is from the previous post I made "diaper bag for Mary" where I was disappointed in the pattern and wanted to make some changes. I figured out how to change the pockets inside to be big enough on the ends to actually use and I added a zippered pocket on the outside to keep my chapstick, lotion etc handy. 
               I found a tutorial online that helped me figure out how to do it: http://u-handbag.typepad.com/uhandblog/2007/02/zippered_inner_.html

It's a pocket INSIDE a pocket!!

   For this bag I used canvas on the oustide as well and for the inside I used "Bundle of Jungle" print by Marcus Brothers. 
     It has a zippered top and binding along the top that my poor fingers are cursing me for doing.  There are also 6 pockets on the outside .. plus the zippered one, and 6 pockets on the inside.  Now I need to make some things like a changing pad and wet bag. :)


This was an old jjcole binki holder that I took apart and TRIED to make it with my fabric. It worked, but it's not the best sewing job ever.


I also made some pacifier clips really quick. :)

It's good to get one thing on my list of many things to sew done! 

Thursday, January 26, 2012

52 Reasons I LOVE You


I found this post on etsy on how to make a valentine gift for someone you love out of a deck of cards


      I am thinking of things I can put in a box and mail to my husband on Valentines day to make him smile because he'll be away at work. I'm not BIG into Valentines day because it's just a money making holiday and doesn't really mean much to me, but I figured it would be fun to do for him.

It turned out to be so thick that I have to tie a ribbon around it to get it to be somewhat flat! :) My cards don't look as good as the tutorial ones, but they'll work.


      The cards I used were just some old ones we HOPEFULLY won't miss. we have a few decks. They are blue and don't go with the colors I picked to do this with, oh well! :) I also made sure to do red glitter glue on each and every page in some way or another to tie it together. I used 4 different styles of papers.


I love my husband so much, I never imagined it would be so hard to find 52 worth while things to write down. It wasn't hard just ... head scratching.

I did a back for mine too. Hope he Likes it!